
Water-activated tape (WAT) provides significant carton-sealing advantages. Also known as gummed tape, Kraft tape, paper tape, or reinforced gummed tape (when fiberglass is embedded), WAT provides a strong, tamper-evident seal that keeps cartons securely closed both during shipping and while in storage.
WAT also delivers a clean, professional look and can even be printed with your logo or other graphics to help increase brand awareness. What’s more, sealing with WAT using an electric, water-activated tape dispenser, has been shown by independent testing to be 21 percent more efficient than sealing with pressure-sensitive plastic tape.
What’s the key to capitalizing on all these benefits to improve your company’s profit margin? Knowing how to seal a package with water-activated tape. While it’s a straightforward process, there are some proven tips that can help you maximize the efficiency and effectiveness of your packaging operations.
“Sealing with WAT has been shown by independent testing to be 21 percent more efficient than sealing with pressure-sensitive plastic tape.” TWEET THIS
Sealing Packages with WAT: A Proven Step-by-Step Approach
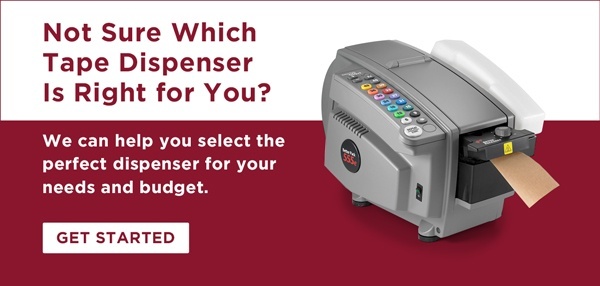
After you’ve outfitted your packaging station with a water-activated tape dispenser such as an electric model in the UL-listed Better Pack 555 series, and water-activated tape, follow these steps for the most effective sealing of your packages:
- Properly load the tape in the dispenser by setting the WAT roll in place, pulling the leading edge over the rear guide, feeding it through front guide, and closing the lid.
- Check that there’s adequate water in the water tank and then dispense a six-inch tape test strip by pressing the “6” button to ensure that the adhesive is being fully wetted.
- Choose the amount of tape you need by first measuring the length of the opening to be sealed and adding 3” on either side that you’ll need for an overlap. So, if the opening is 12 inches long, add 6” equaling 18”. Find the number on the dispenser that corresponds to your requirement and press the “18” button, if it is an electric, or pull the lever if it’s a manual. The extra 3 inches on either side insures an effective seal.
- Dispense your tape and choose a sealing method:
- The Pinch Method - One strip is “pinched” onto one carton flap and then pressed onto the other when the two are brought together.
- The H Seal Method - The Pinch Method but with a short perpendicular strip at each end forming an “H” shape.
- The Full Seal Method - The Pinch Method but with a perpendicular strip at each end that extends slightly past the corner of the carton and is folded down.
- Your box is sealed and ready for handling.
Watch our informative video to see these carton sealing steps in action!
Switching to Water-Activated Tape is Easy
From ordering your WAT and water-activated tape dispensers to following the simple steps above, upgrading your packing procedures is simple. And once you do, the improvements are immediate. Your team will be more efficient, your packages will hold up better to the rigors of shipping, the risk of “press and grab” thefts will be reduced, and your shipping cartons can serve as mobile advertisements for your brand.
Plus, adopting WAT for many packaging tasks doesn’t mean your pressure-sensitive plastic tape and tape guns will go to waste. There are still plenty of tasks where plastic tape is the perfect choice. You simply need to look at the characteristics of the two types and select the tape that is appropriate in a given scenario.
If you have questions about our water-activated tape and water-activated tape dispensers, and how they can improve your package sealing operations, please contact us at your convenience.

No comments:
Post a Comment